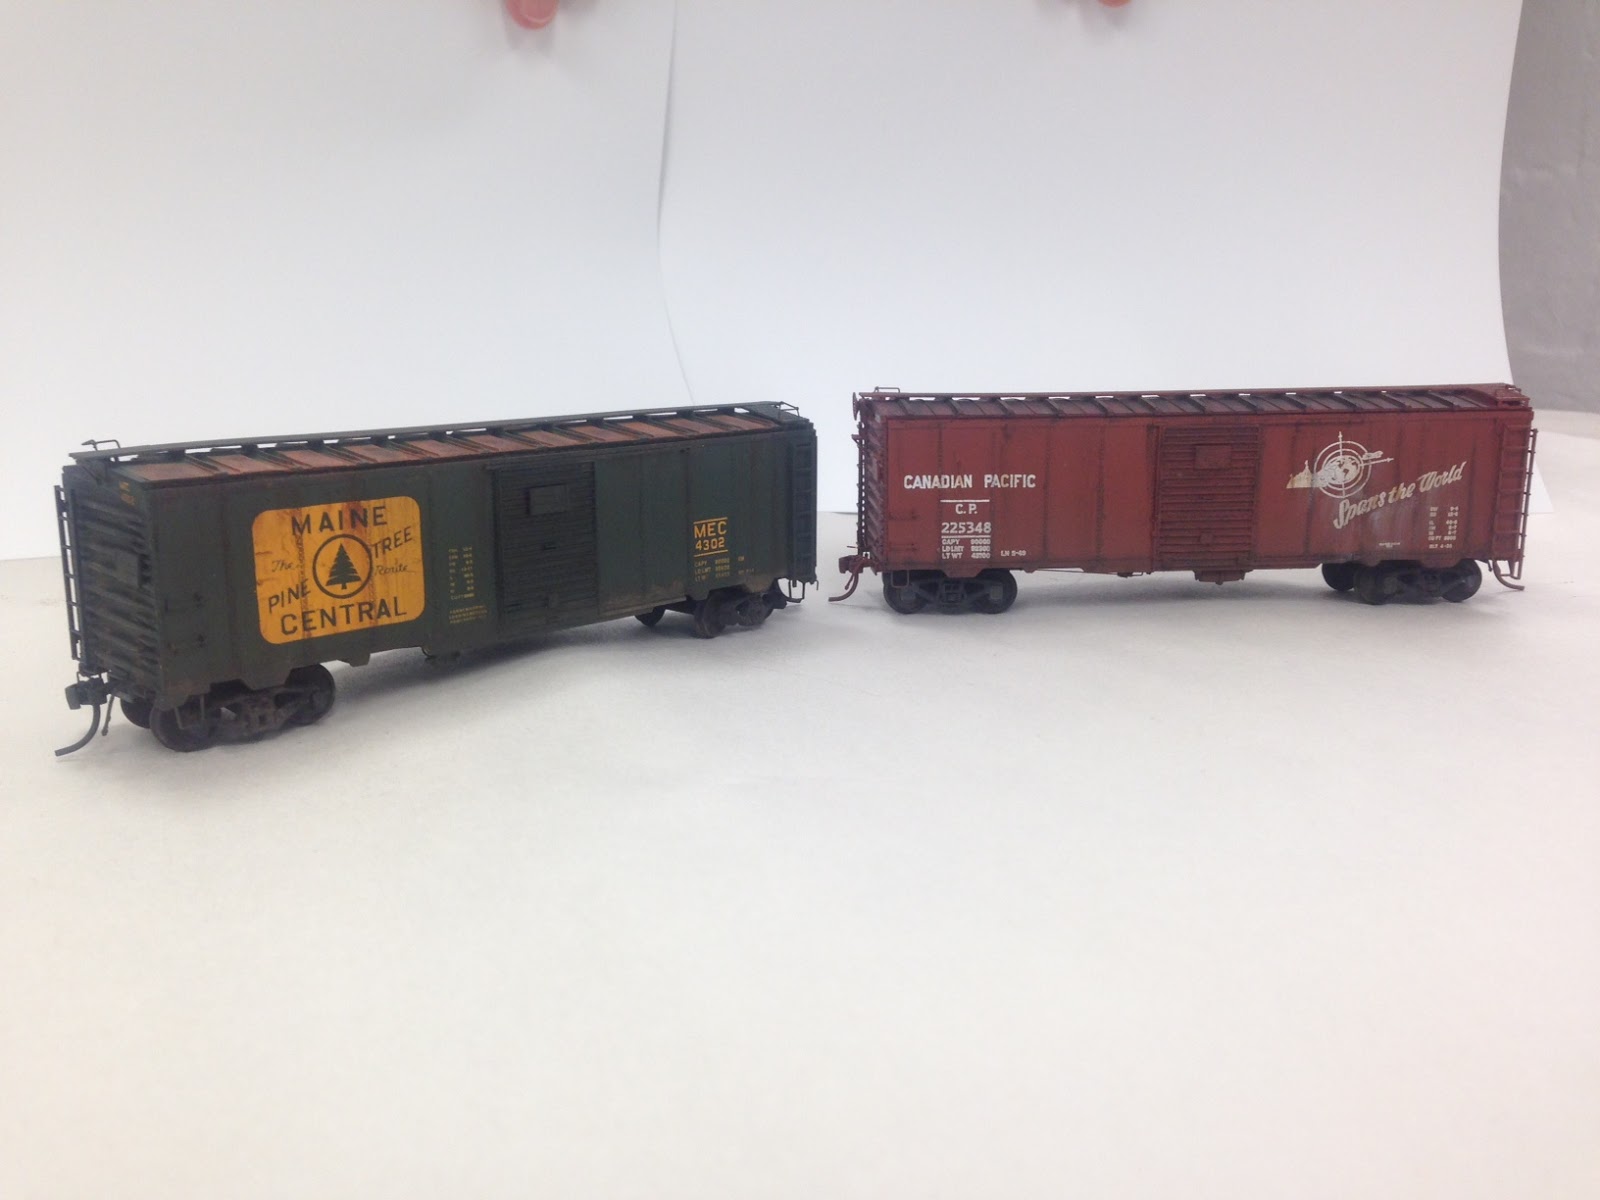
The cars I wanted to model either had PS-1 style or diagonal panel roofs and NSC 3 style ends, save for the TH&B car which required the 4/4 IDE end. I ordered some PS-1 car kits from Intermountain and stole the roofs from them for the CN cars. The other three needed diagonal panel roofs so I ordered Branchline parts from Atlas.
As for the NSC3 ends - I could have used Sylvan Scale models NSC3 ends, but I have never been happy with the pattern work, as its missing the rivets and weld lines between the panels and the shape of the ribs don't seam right. To my eye they look like a compromise based on the available styrene shapes used to make the patterns.
So I designed my own 3D models and had the ends printed on a 3D printer. I took measurements and pictures from an actual NSC built 40' boxcar, at the West Coast Railway Museum in BC, a few years ago. One of the models has Sylvan ends on it. I had a set, so I decided to use them up.
I added Archer weld beads to define the separate stamped panels that the prototype ends are built up from. Archer rivets needed to be added on the sides of the part because, the 3D printer puts support material on the side of the part to print rivets sticking out - this messes up the face when the support material is removed. I elected not to put them in the 3D model. The support material leaves a different texture on the part that would show up after painting. The rest of the rivets are in the print, but do to the colour of the plastic they don't show up in pictures.

The project stopped when I got to the point where I needed to add the doors. The kits come with Youngstown doors with early roller fixtures. Youngstown doors with late style fixtures are available, but they do not have the correct rib pattern and the panels are not riveted in the valleys between the ribs - as on the Canadian version of the Youngstown door.
These are available form Sylvan Scale Models but the moulds are old and need to be redone, so the parts don't come out very good anymore.
The solution was to cut and spice two of the American version of the door into a Canadian version. Add Archer rivets, then make a Silicone RTV mould. Something I have never tried.
I made a trip out to Sculpture Supply Canada in Etobicoke with Doug Currie and the nice folks there helped us select the products I needed to make the mould and cast some parts. Here's what they recommended. The mould release is an extra thin version, which works better for highly detailed parts, The Smooth Cast 320 is an off white colour that they said would tint easier.

I glued the new door into a Styrene box and followed the instructions to make the Silicone Mould. Doug came over to help out with the poor etc, and having an extra set of hands was very helpful.
The silicone I used is a platinum cure type that mixes 1 to 1, and doesn't require degassing. The mould turned out great. It has a few air bubbles on the back side but nothing on the part face. It cures quick also, 30 minutes per the instructions. I left it a bit longer just to be safe.
Casting took some practice. I managed to make 8 good doors in about 14 attempts. I poked the air bubbles out using a toothpick and slid a backer plate onto the back of the mould, but on top of a sheet of thin slippery plastic - rather than dropping it face on. Using these tricks I had good parts coming out of the mould. I ended up not using the tint. It was much easier to find air bubbles in the clear resin. The resin turns off white as it cures. I only needed 8 parts as the TH&B car will use the earlier style door included in the kit.
Here's what everything looks like.

I actually glued on the kit doors and let this project sit, while I came to the eventual realisation, that I would not be happy with the wrong doors on these cars. I managed to get them off with little damage.
In the end this project was pretty easy to do and a lot of fun, I should have just got on with it from the beginning.
At this point I have no interest in laying out a whack of Cash for Vacuum pots/pumps or pressure vessels to make full car bodies etc.
Now I can get back to finishing these cars. More to come....